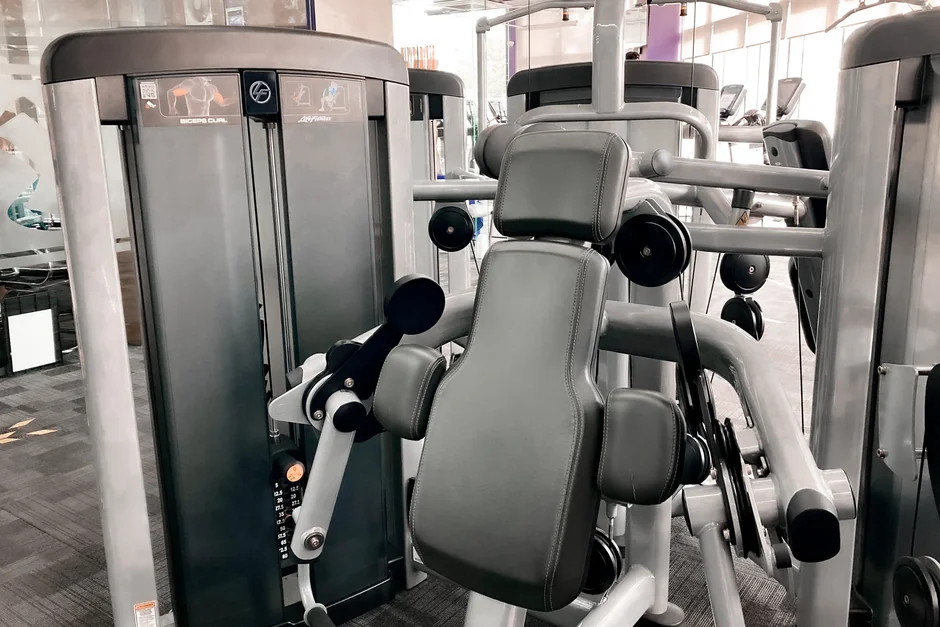
A hip adduction abduction machine is a seated resistance machine that trains your inner-thigh muscles and your outer-hip muscles in one frame. Most gym floors have one, and most people walk straight past it.
Table of Contents
- What the Hip Adduction and Abduction Machine Actually Trains
- Adduction vs Abduction: What Each Movement Does for You
- How to Set Up the Machine for Your Body
- How to Program Sets, Reps, and Load
- Common Mistakes and Smart Alternatives
- Is the hip adduction abduction machine good for knee pain?
- Why does my hip pinch or click during abduction?
- Can I use the hip adduction abduction machine during pregnancy?
- Do I still need this machine if I already squat and deadlift?
- How is a standing hip machine different from the seated version?
- Conclusion
That is a missed opportunity, because your hip abductors help keep your pelvis level every time you stand on one leg, and your adductors help control the knee.
The trouble is that the machine is easy to use badly — the wrong seat height, too much weight, or a range of motion your hip does not like can turn a useful tool into a source of nagging pain.
This guide covers what the machine trains, how adduction differs from abduction, how to set it up, how to program it, and which mistakes waste your time.
What the Hip Adduction and Abduction Machine Actually Trains
The hip adduction abduction machine trains two opposing muscle groups from one seated position: the adductors on the inside of your thighs and the abductors on the outside of your hips.
The adductor group includes the adductor magnus, adductor longus, adductor brevis, pectineus, and gracilis. Together they pull your leg toward the midline of your body. The abductors — gluteus medius, gluteus minimus, and tensor fasciae latae — do the opposite and lift your leg away from the midline.
That second job matters more than most lifters realize. Your hip abductors keep your pelvis level every time you stand on one leg, which happens on every step you take. Weak hip abductors appear repeatedly in running-injury research and in physical therapy plans for knee pain.
The U.S. Centers for Disease Control and Prevention advises adults to do muscle-strengthening activity for all major muscle groups at least two days a week. Squats and deadlifts hit the hips hard, but they do not load the abductors through a full range. The machine fills that gap directly.
How to apply this: check whether your current routine includes any direct inner-thigh or outer-hip work. If it does not, add two sets of each direction at the end of your next lower-body session and note how it feels.
Adduction vs Abduction: What Each Movement Does for You
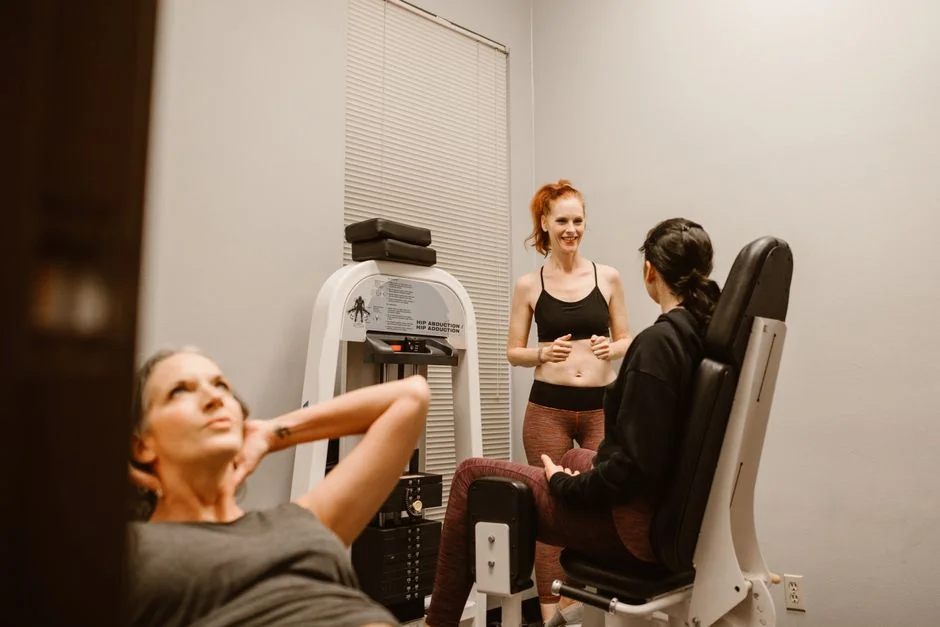
Adduction pulls your leg toward your body’s midline, while abduction pushes it away — and each direction supports a different part of how you walk, run, and change direction.
The American Council on Exercise maintains a free exercise library that lists both movements as separate exercises, which is a useful reminder that they are not interchangeable. The adductors handle the inside line of your leg and help steady the knee when you plant and pivot.
The abductors handle the outside line and control how far your knee drifts inward during squats, steps, and landings.
You will feel the difference immediately on the machine. Adduction squeezes the pads together between your knees. Abduction pushes them apart against the outer pads.
| Movement | Main muscles | Everyday job | Action to take |
|---|---|---|---|
| Hip adduction | Adductors, gracilis, pectineus | Stabilizes the knee during turns | Start with 2 sets of 12–15 reps, light load |
| Hip abduction | Gluteus medius, minimus, TFL | Keeps the pelvis level on each step | Keep the range pain-free and controlled |
| Single-leg versions | Same groups plus more core | Exposes side-to-side differences | Compare left and right reps |
| Banded lateral walk | Gluteus medius | Warm-up and hip stability | 2 sets of 10 steps each way |
How to apply this: train both directions in the same session, but give the weaker side an extra set until your left and right feel comparable.
An adduction moves your leg toward midline, while abduction moves it away; the hip adduction abduction machine trains both directions.
Different walking, running, and cutting demands rely on each direction, making the hip adduction abduction machine useful for balanced strength.
How to Set Up the Machine for Your Body
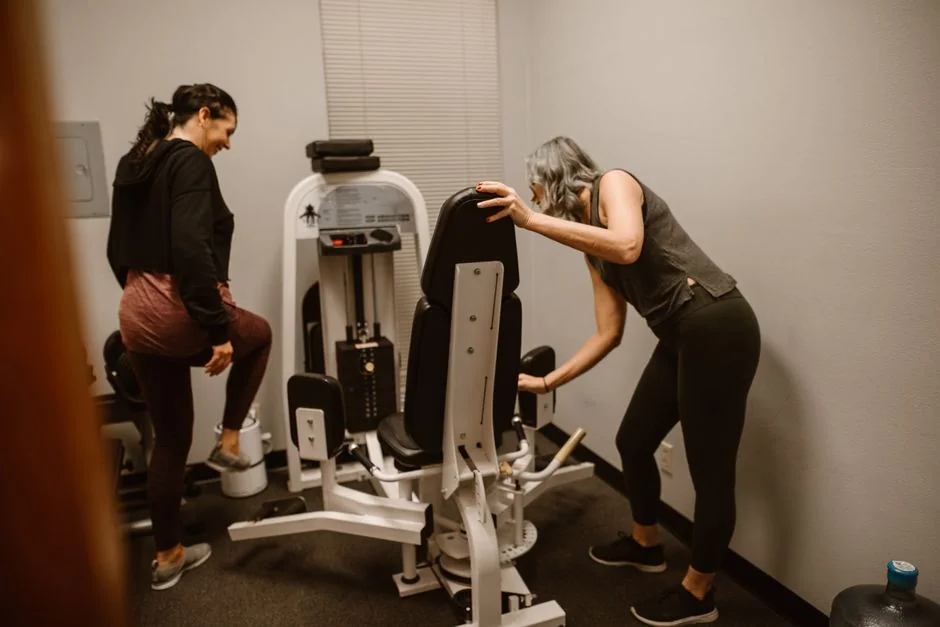
A correct setup starts with pad placement: the pads should sit a few inches above your knees on the outer thighs, never directly on the kneecap.
Next, adjust the seat so your hip joint lines up roughly with the machine’s pivot point. If the seat is too low, your hips roll backward and the movement turns into a lower-back exercise. Keep your back against the back pad and your shoulders relaxed instead of pulling hard on the handles.
On the abduction side, a slight forward lean often shifts more of the work to the gluteus medius, which is the muscle most people are actually chasing. Move at a controlled tempo and take two to three seconds on the return rather than letting the pads snap back.
Tracking one side against the other is worth the effort. In sports medicine testing, a side-to-side strength difference of roughly 10 percent is a common rule of thumb for flagging a deficit, so comparing your left and right output tells you more than your total weight does.
How to apply this: take a photo of your pad and seat settings on your phone so you can reset the hip adduction abduction machine the same way next session instead of guessing.
How to Program Sets, Reps, and Load
Program this machine like any other accessory lift: two to three sets per direction, two days a week, with a load you can control for the full rep range.
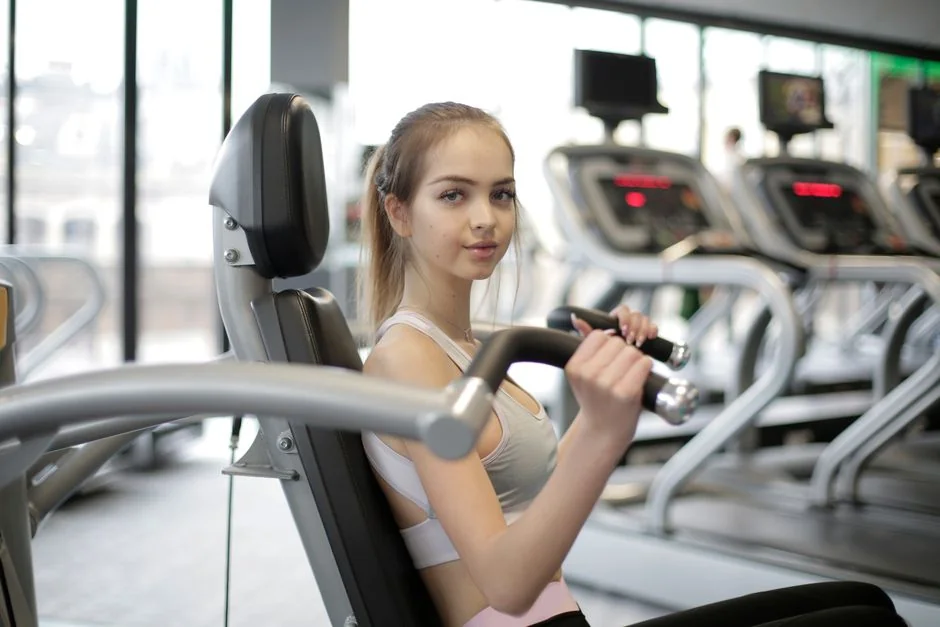
The American College of Sports Medicine recommends that most adults train each major muscle group two to three days per week, using loads that allow roughly 8 to 12 repetitions per set. For isolation work on a machine, 10 to 15 controlled reps is a practical target, because the muscles involved respond well to moderate loads and higher volume.
Progress slowly. Add the smallest available increment once you can complete the top of your rep range on every set with two reps still in reserve. Jumping two plates at once usually causes your hips to rock and your torso to shift, which defeats the purpose.
Keeping a simple log makes progression obvious. Apps such as Hevy let you record weight and reps per set per side, so you can see whether your weaker leg is catching up over four to six weeks.
How to apply this: write down your working weight, reps, and sets for each direction today, then repeat the same numbers next week before adding any load.
Program the hip adduction abduction machine like an accessory lift with two to three sets per direction twice weekly.
Choose a load you control across the full rep range when using the hip adduction abduction machine for safe progress.
Common Mistakes and Smart Alternatives
Most problems with this machine come down to load, position, or training only one direction.
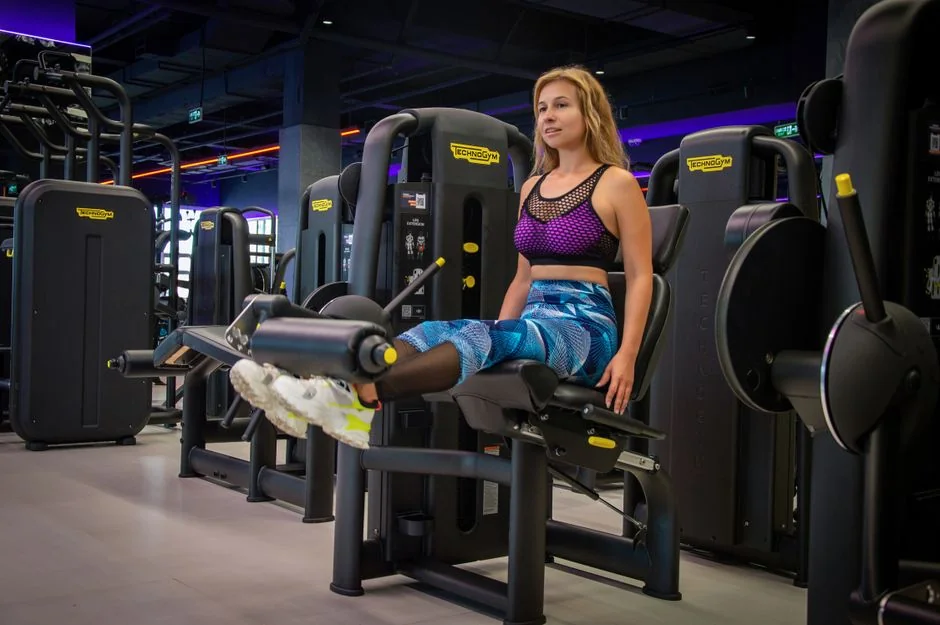
– Going too heavy and letting momentum swing the pads instead of your muscles.
– Setting the starting range wider than your hip comfortably tolerates.
– Training abduction only, because it feels more flattering in the mirror.
– Using the machine as a max-load warm-up before you are warm.
– Gripping the handles and pulling with your arms to force extra reps.
If the seated hip adduction abduction machine is occupied, several free alternatives train the same muscles:
– Cable hip adduction and abduction with an ankle strap.
– Side-lying hip abduction on the floor or a bench.
– Banded clamshells and lateral walks.
– The Copenhagen plank, which is widely used in sports medicine for adductor strength.
– Single-leg step-downs for hip stability under load.
Free exercise directories such as ExRx.net publish animated demonstrations of each movement, which helps you check your form before you load the machine. If a movement consistently produces a sharp pinch at the front of the hip, swap it for a cable or band version and work in a smaller range.
How to apply this: pick one alternative from the list above and rotate it in whenever the hip adduction abduction machine is taken, so you never skip hip work entirely.
Frequently Asked Questions About hip adduction abduction machine
Is the hip adduction abduction machine good for knee pain?
It can help as part of a broader program, but it is not a treatment on its own. Weak hip abductors are often flagged alongside knee pain in runners, yet research reviews generally support multi-exercise hip strengthening rather than one machine.
Start with light resistance and a pain-free range, and see a physical therapist if pain persists beyond a couple of weeks. Many people find the hip adduction abduction machine useful as one piece of that plan.
Why does my hip pinch or click during abduction?
A pinching sensation at the front of the hip usually comes from taking the movement too far into abduction too fast, or from a seat position that rolls your pelvis backward. Shorten the range, slow the tempo, and lower the load.
If the pinch feels sharp rather than like a stretch, stop and get it assessed — clicking with pain is a different issue from clicking alone, and the hip adduction abduction machine may not be the right starting point.
Can I use the hip adduction abduction machine during pregnancy?
Many people do continue seated machine work during pregnancy, but clearance from your healthcare provider comes first. Because you are seated rather than lying down, there is no pressure on the belly, which is one reason this machine is often tolerated later into pregnancy. The bigger considerations are joint laxity, pelvic floor symptoms, and fatigue.
Ask your provider before adding load on the hip adduction abduction machine.
Do I still need this machine if I already squat and deadlift?
Not strictly, but you are leaving a gap. Squats and deadlifts train the hips through a narrow band of abduction and adduction, and they rarely load the gluteus medius or adductors in isolation. Adding two or three sets per direction once or twice a week is cheap insurance for hip stability.
Treat the hip adduction abduction machine as an accessory, not a replacement for your main lifts.
How is a standing hip machine different from the seated version?
A standing hip machine uses a cable or lever with a pad above the ankle, so the leg travels through a longer arc and your standing leg has to stabilize your whole body. The seated hip adduction abduction machine isolates the target muscles with more support.
A common pattern is seated work for control and higher reps, then standing work later for range of motion and balance.
Conclusion
The machine in the corner is more useful than it looks, as long as you use it deliberately.
– It trains the adductors and abductors that squats and deadlifts largely miss.
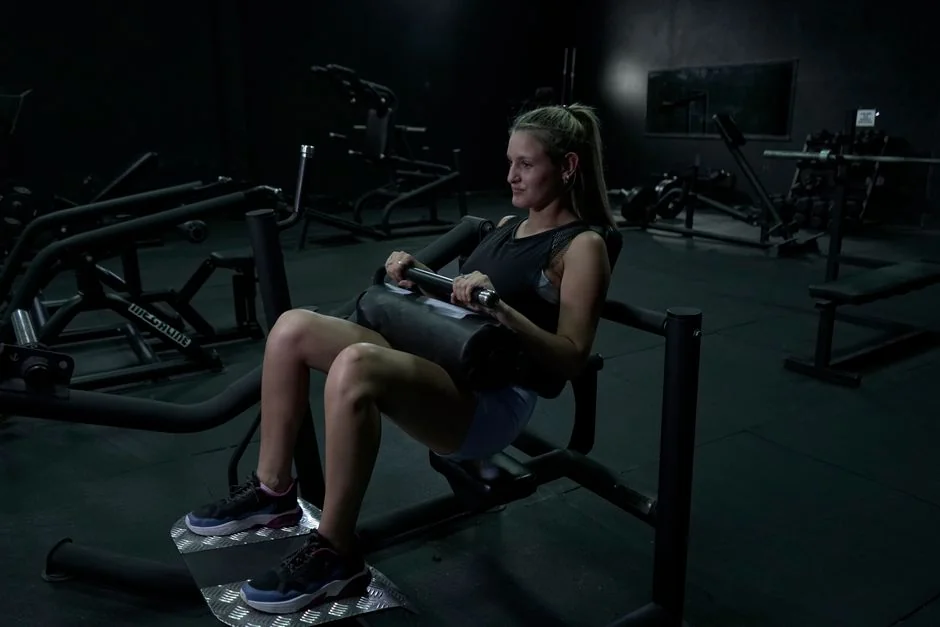
– Pad placement a few inches above the knee and proper seat height prevent most hip pain.
– Two to three sets per direction, twice a week, at 10 to 15 controlled reps is plenty.
– Tracking left versus right output tells you more than total weight lifted.
Start with your next lower-body session. Set both directions on the hip adduction abduction machine to a light load, do two clean sets of 12 to 15 reps on each side, and write down the numbers.
Then repeat the same work twice a week for a month before you add weight, and reassess how your hips feel during squats, steps, and running.